Python BLE 库 Bleak 与 bleak-esphome 实战详解

Python BLE 库 Bleak 与 bleak-esphome 实战详解


一、为什么 Python 做 BLE 首选 Bleak

如果你在 Python 里做 BLE(Bluetooth Low Energy,低功耗蓝牙),很快会遇到一个现实问题:不同操作系统的蓝牙协议栈完全不一样

BTHome v2 协议详解:广播格式、加密机制与两个开源实现

BTHome v2 协议详解:广播格式、加密机制与两个开源实现

BTHome 是一套面向 BLE 广播的轻量传感器协议,核心目标很直接:让电池设备不需要连接,也能把状态稳定地广播出去。它适合温湿度、门磁、按钮、人体存在、开关状态这类低频、小数据量场景。

BLE 协议、MicroPython aioble 与 ESPHome BLE 实现深度解析

BLE 协议、MicroPython aioble 与 ESPHome BLE 实现深度解析


一、BLE(低功耗蓝牙)是什么

BLE(Bluetooth Low Energy,蓝牙 4.0 起引入,旧称 “Bluetooth Smart”)与经典蓝牙(BR/EDR)共存但相互独立。它面向低功耗、低数据量、间歇性通信场景:纽扣电池驱动一个温度计工作数年是典型用例。

Modbus 协议详解与 ESPHome 驱动开发实战

Modbus 协议详解与 ESPHome 驱动开发实战

Modbus 是工业自动化和物联网领域生命力最顽强的通信协议之一。它诞生于 1979 年,由 Modicon(今施耐德电气)为 PLC 通信设计,如今已是一种事实标准——几乎找不到一台不支持 Modbus 的工业仪表。本文从一个嵌入式工程师的视角,从协议本身到 ESPHome 的实现架构,再到如何亲手写一个自定义 Modbus 传感器驱动,做一次完整的梳理。

臭鱼烂虾养成记

臭鱼烂虾养成记之手搓tds传感器

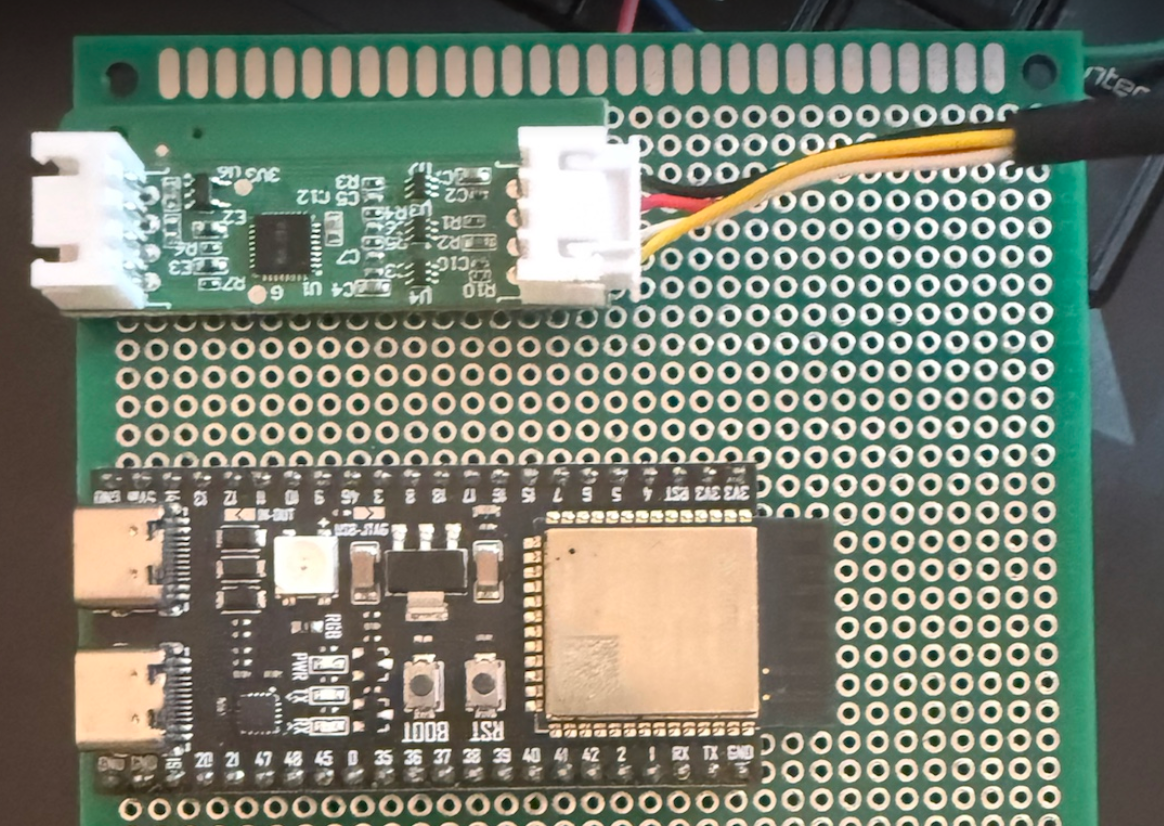
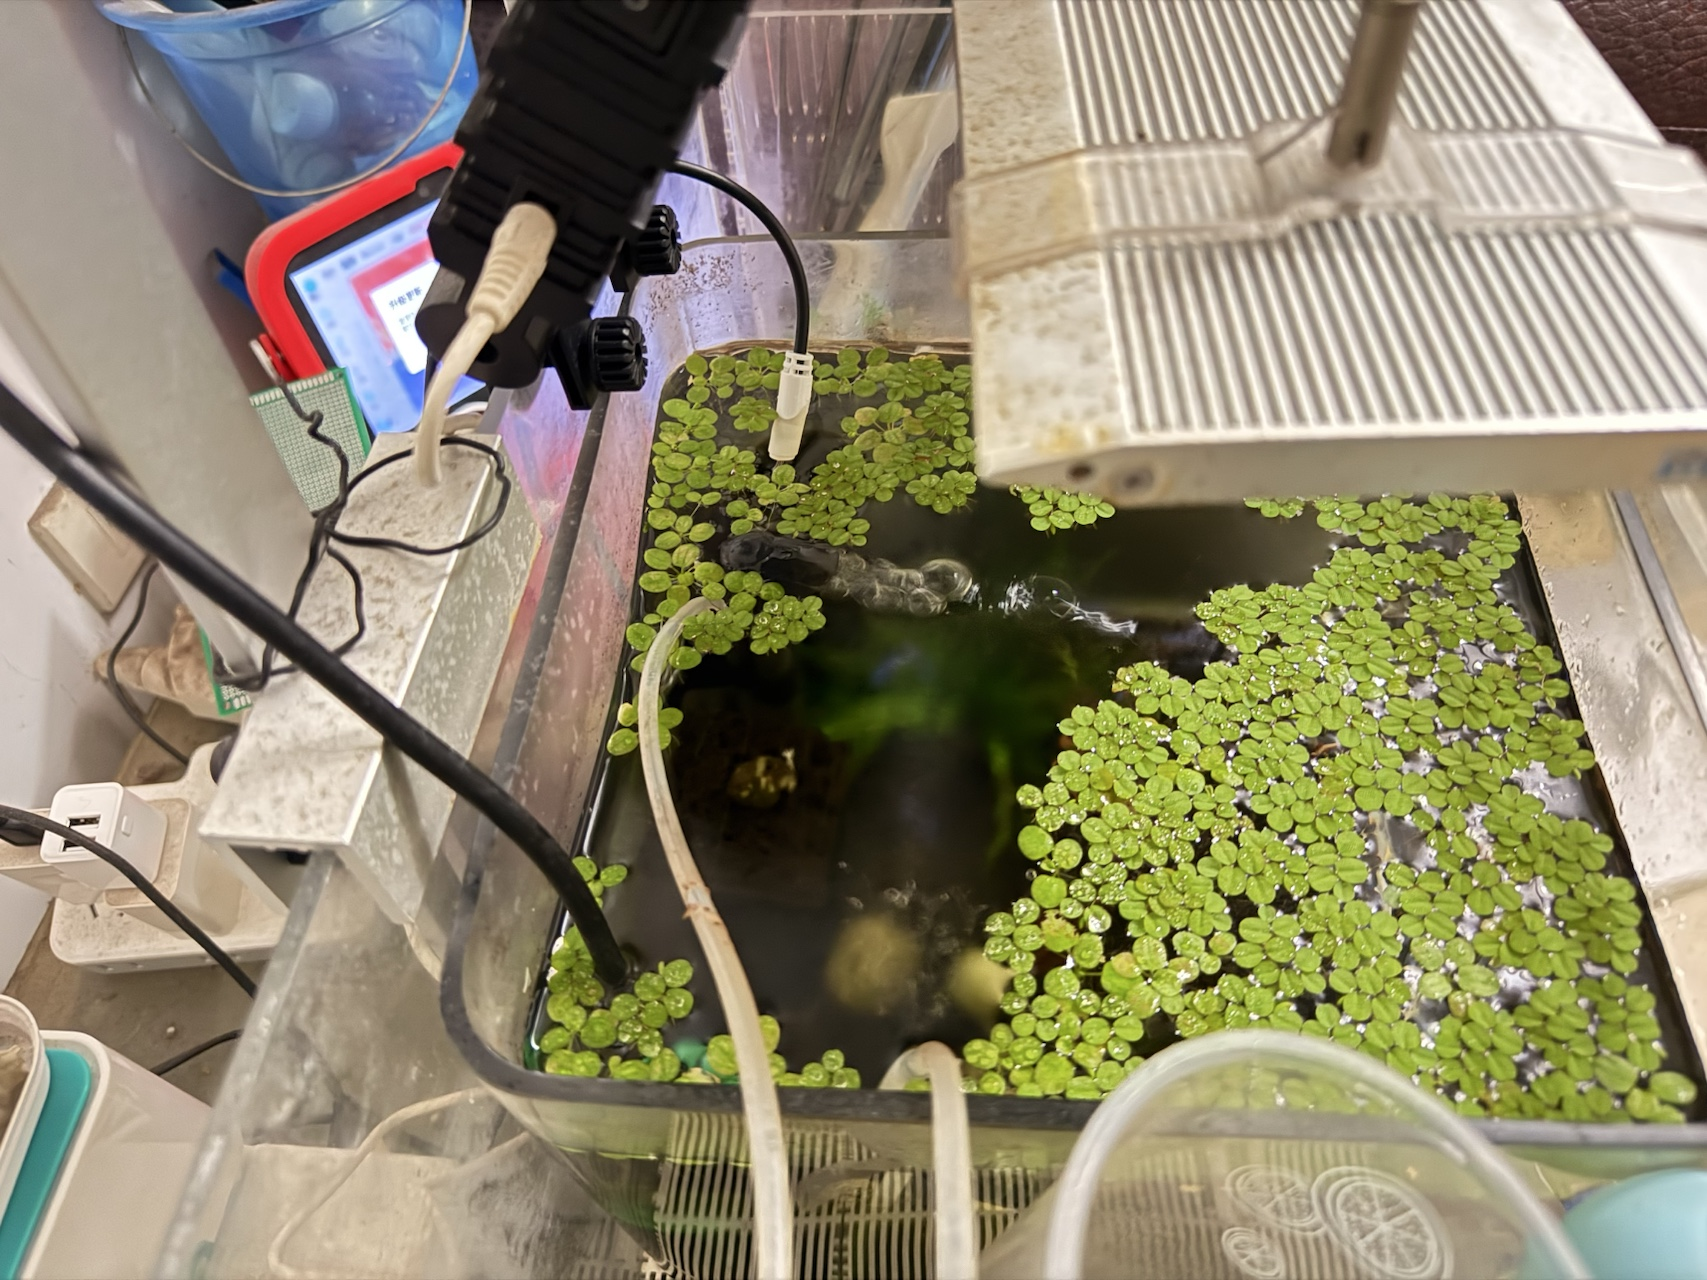
发现一个TDS传感器模块,esphome上没有现成的组件,看他数据手册,串口的,写的挺明确,正好就给鱼缸的臭鱼烂虾加个传感器,免得出事

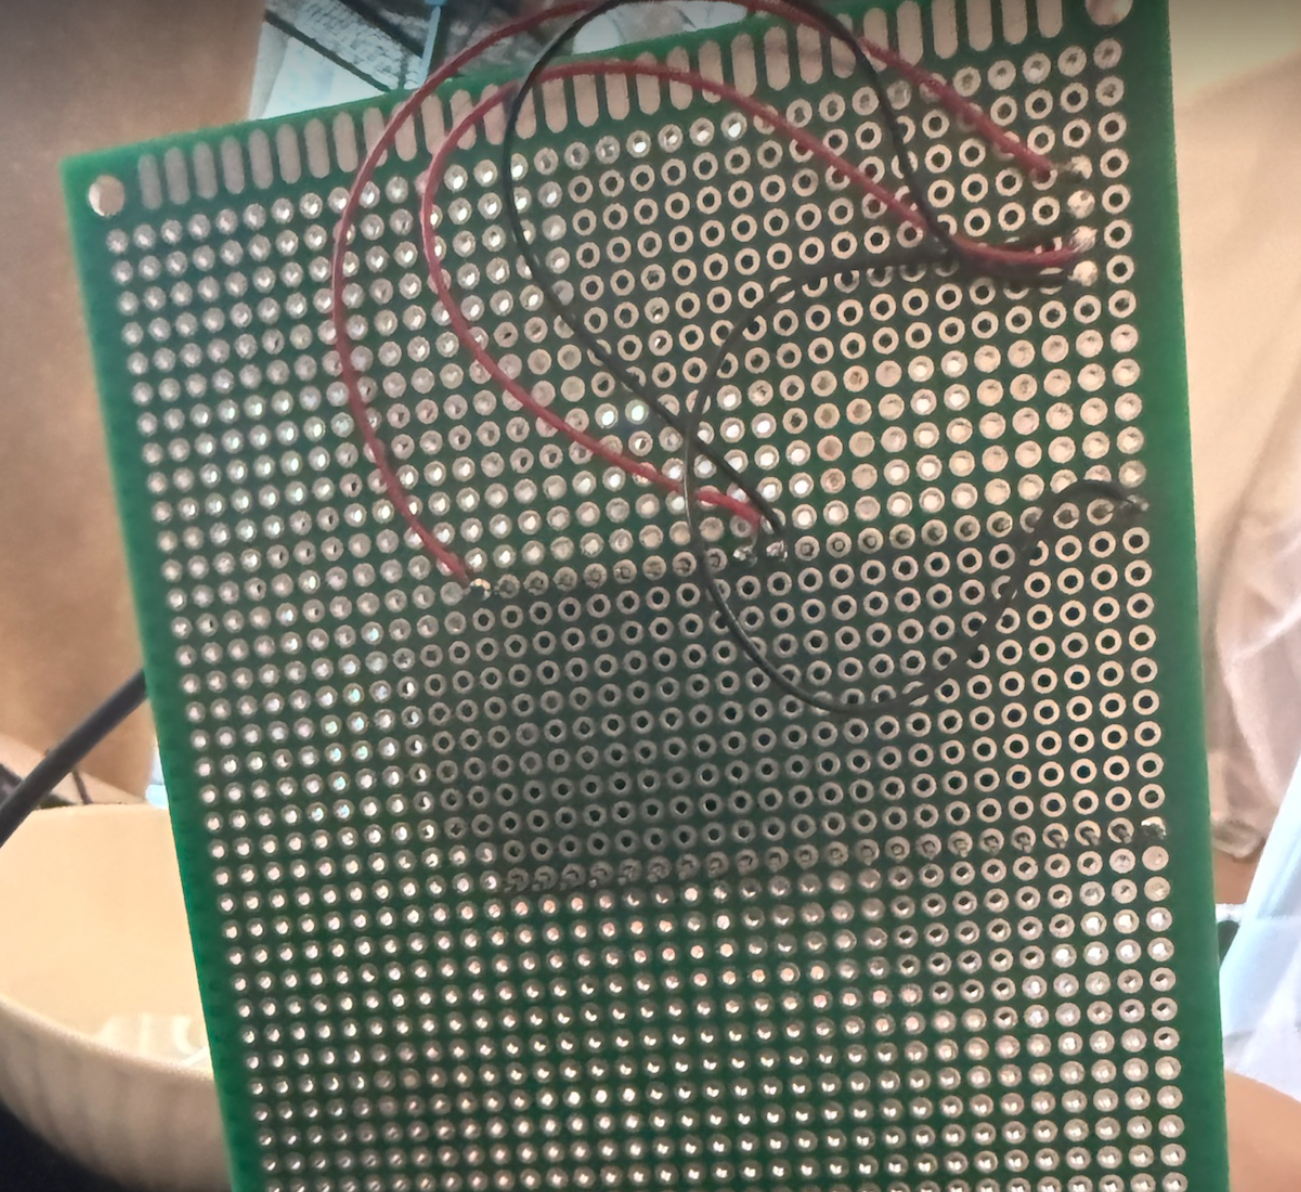
对着洞洞板一顿焊接,东西出来了, 反面 正面
yaml一顿写:

  1
  2
  3
  4
  5
  6
  7
  8
  9
 10
 11
 12
 13
 14
 15
 16
 17
 18
 19
 20
 21
 22
 23
 24
 25
 26
 27
 28
 29
 30
 31
 32
 33
 34
 35
 36
 37
 38
 39
 40
 41
 42
 43
 44
 45
 46
 47
 48
 49
 50
 51
 52
 53
 54
 55
 56
 57
 58
 59
 60
 61
 62
 63
 64
 65
 66
 67
 68
 69
 70
 71
 72
 73
 74
 75
 76
 77
 78
 79
 80
 81
 82
 83
 84
 85
 86
 87
 88
 89
 90
 91
 92
 93
 94
 95
 96
 97
 98
 99
100
101
102
103
104
105
106
107
108
109
110
111
112
113
114
115
116
117
118
119
120
121
122
123
124
125
126
127
128
129
130
131
132
133
134
135
136
137
138
139
140
141
142
143
144
145
146
147
148
149
150
151
152
153
154
155
156
157
158
159
160
161
162
163
164
165
166
167
168
169
170
171
172
173
174
175
176
177
178
179
180
181
182
183
184
185
186
187
188
189
190
191
192
193
194
195
196
197
198
199
200
201
202
203
204
205
206
207
208
209
210
211
212
213
214
215
216
substitutions:
  name: "tds-sensor"
  location: "客厅"  #放置位置

esphome:
  name: "${name}"
  name_add_mac_suffix: true
  friendly_name: "${location}tds传感器"
  comment: "tds-sensor"
  project:
    name: synodriver.tds-sensor
    version: "0.0.1"
preferences:
  flash_write_interval: 10min
esp32:
  board: esp32-s3-devkitc-1
  flash_size: 8MB
  cpu_frequency: 240MHz
  framework:
    type: esp-idf
    advanced:
      execute_from_psram: true


psram:
  mode: quad
  speed: 80MHz
# Enable logging
logger:
  level: DEBUG

# Enable Home Assistant API
api:
  actions:
    - action: twice_calibrate
      variables:
        salinity: float
      then:
        - bax.twice_calibrate:
            id: bax_
            salinity: !lambda "return salinity;"


  on_client_connected:
    - logger.log:
        format: "Client %s connected to API with IP %s"
        args: ["client_info.c_str()", "client_address.c_str()"]

ota:
  - platform: esphome
wifi:
  ssid: !secret wifi_ssid
  password: !secret wifi_password
  # Enable fallback hotspot (captive portal) in case wifi connection fails
  ap:
    password: ""
  #use_address: 192.168.5.240
captive_portal:

web_server:
  port: 80    

external_components:
# 这是我的本地组件,你们用下面的
#  - source:
#      type: local
#      path: components
  - source:
      type: git
      url: https://github.com/ha-china/esphome_external_componnets
      ref: main
      components: ["bax"]  # 指定要加载的组件,或 "all"
      refresh: 1h              # Git 仓库刷新间隔(默认1天) 


uart:
  id: uart_bus
  tx_pin: 17
  rx_pin: 18
  baud_rate: 9600
  stop_bits: 1

bax:
  id: bax_
  uart_id: uart_bus
  type: BA234
  update_interval: 10s

debug:
  update_interval: 5s

sensor:
  - platform: bax
    bax_id: bax_
    tds:
      name: "TDS"
    ec:
      name: "EC"
    salinity:
      name: "salinity"
    specific_gravity:
      name: "specific_gravity"
    temperature:
      name: "temperature"
    hardness:
      name: "hardness"
    
    
  - platform: wifi_signal # Reports the WiFi signal strength/RSSI in dB
    name: "${name} WiFi Signal dB"
    id: wifi_signal_db
    update_interval: 60s
    entity_category: "diagnostic"

  - platform: copy # Reports the WiFi signal strength in %
    source_id: wifi_signal_db
    name: "${name} WiFi Signal Percent"
    filters:
      - lambda: return min(max(2 * (x + 100.0), 0.0), 100.0);
    unit_of_measurement: "%"
    entity_category: "diagnostic"

  - platform: debug
    free:
      name: "Heap Free"
    block:
      name: "Heap Max Block"
    loop_time:
      name: "Loop Time"
    cpu_frequency:
      name: "CPU Frequency"
    psram: 
      name: "Free PSRAM"

  - platform: internal_temperature
    name: "Internal Temperature"

time:
  - platform: sntp
    id: my_time

switch:
  - platform: restart
    name: "${name} controller Restart"
  - platform: factory_reset
    name: Restart with Factory Default Settings
    disabled_by_default: true

text_sensor:
  - platform: wifi_info
    ip_address:
      name: ${name} IP Address
    ssid:
      name: ${name} Connected SSID
    bssid:
      name: ${name} Connected BSSID
    mac_address:
      name: ${name} Mac Wifi Address
    # scan_results:
    #   name: ${name} Latest Scan Results
    dns_address:
      name: ${name} DNS Address
  - platform: version
    name: "ESPHome Version"
  
  - platform: debug
    device: 
      name: "device info"
    reset_reason: 
      name: "reset reason"

button:
  - platform: bax
    bax_id: bax_
    zero_point_calibrate:
      name: "zeropoint-baseline calibrate"
  # 下面这些也可以写到api里面,做成service,可惜的是这是其他型号的,BA234不支持这些功能
  # - platform: template
  #   name: "calibrate"
  #   on_press: 
  #     then:
  #       - bax.zero_point_calibrate:
  #           id: bax_    
  
  # - platform: template
  #   name: "twice_calibrate"
  #   on_press: 
  #     then:
  #       - bax.twice_calibrate:
  #           id: bax_
  #           salinity: !lambda "return 5;"
        
  # - platform: template
  #   name: "set_ntc_resistance"
  #   on_press: 
  #     then:
  #       - bax.set_ntc_resistance:
  #           id: bax_
  #           resistance: !lambda "return 10000;"

  # - platform: template
  #   name: "set_ntc_b_value"
  #   on_press: 
  #     then:
  #       - bax.set_ntc_b_value:
  #           id: bax_
  #           b: !lambda "return 3850;"

# 秘籍:炫酷浴缸灯,没有的就不加
light:
  - platform: esp32_rmt_led_strip
    rgb_order: GRB
    pin: 48
    num_leds: 1
    chipset: ws2812
    name: "status led"

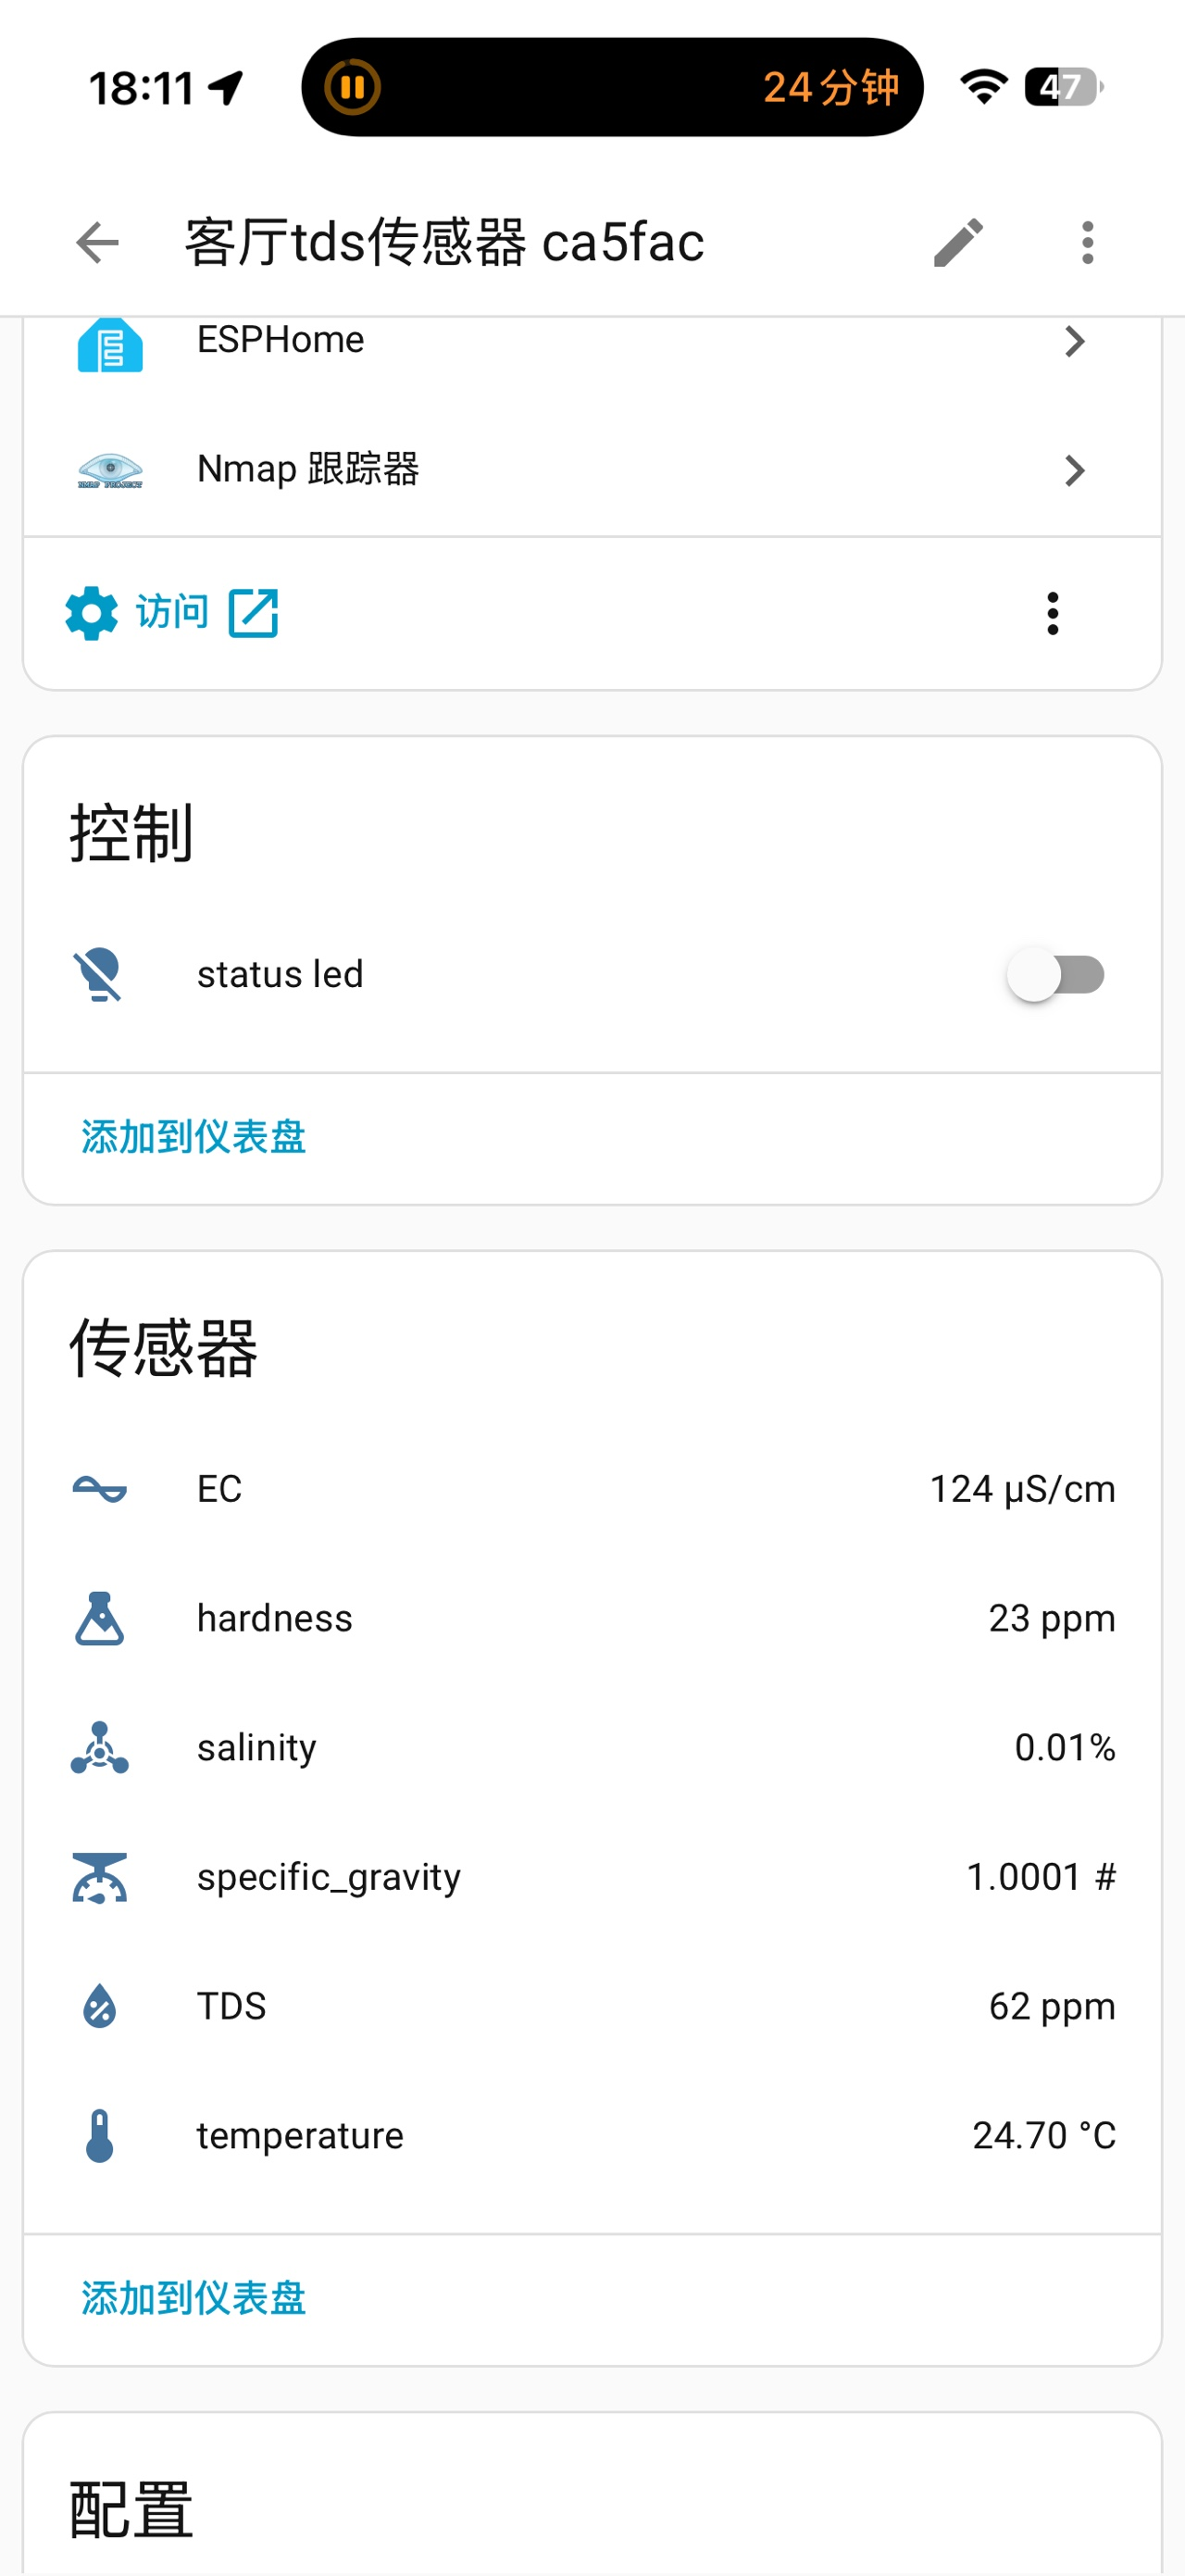
刷机开机,有数据了 ha 效果

Home Assistant 核心架构与实现深度解析

Home Assistant 核心架构与实现深度解析

基于源码版本 2026.7.0.dev0,Python 3.14.2+

目录


1. 项目总体结构

1.1 顶层目录

 1
 2
 3
 4
 5
 6
 7
 8
 9
10
11
12
13
14
15
16
17
18
19
20
E:\pyproject\core\
├── homeassistant/          # 核心源代码主目录
   ├── core.py             # HomeAssistant 主类、EventBus、StateMachine、ServiceRegistry
   ├── config_entries.py   # ConfigEntry、ConfigFlow、ConfigEntries 管理器
   ├── bootstrap.py        # 启动引导,分阶段加载
   ├── loader.py           # Integration 类,manifest 解析,自定义集成管理
   ├── setup.py            # async_setup_component,依赖解析
   ├── data_entry_flow.py  # FlowHandler/FlowManager 基类
   ├── config.py           # 配置文件处理
   ├── const.py            # 全局常量、Platform 枚举
   ├── runner.py           # 运行器,事件循环设置
   ├── __main__.py         # CLI 入口
   ├── auth/               # 认证系统
   ├── components/         # 所有内置集成(2000+个)
   ├── generated/          # 自动生成的代码(蓝牙、DHCP、SSDP 数据等)
   ├── helpers/            # 辅助模块(entity、entity_registry、template 等)
   └── util/               # 工具模块
├── tests/                  # 测试代码
├── custom_components/      # 自定义集成目录
└── pyproject.toml          # 项目配置

1.2 集成组织方式

所有集成都以子目录形式存放在 homeassistant/components/ 下,目录名即域名。每个集成至少包含:

ESPHome 架构与设计思路深度解析

ESPHome 架构与设计思路深度解析

概述

ESPHome 是一个通过 YAML 配置自动生成 C++ 固件的 IoT 框架,专为 ESP32/ESP8266 等 MCU 设计,与 Home Assistant 深度集成。其核心思想是:用户编写 YAML 配置 → Python 代码生成器产出 C++ 源码 → 交叉编译后烧录到 MCU。这种"配置即代码"的模式让不熟悉嵌入式开发的用户也能快速构建智能家居设备。

NGINX Unit 架构与 Python 模块深度剖析:从 WSGI 到 ASGI 的 C 语言实现

虽然NGINX Unit已经archive了,但它是少有的用C实现异步python调用对象的例子,这个验尸还是有意义的

1. NGINX Unit 整体架构

NGINX Unit 是一个开源的多语言应用服务器,由 NGINX Inc. 开发。与传统的 NGINX 不同,Unit 不仅支持静态文件服务和反向代理,还内建了多种语言运行时的直接支持,包括 Python、Go、Java、Node.js、Perl、Ruby 和 WebAssembly。

lua-nginx-module 设计思路与架构深度剖析

lua-nginx-module 设计思路与架构深度剖析

概述

lua-nginx-module(又称 ngx_lua)是一个将 LuaJIT 嵌入 Nginx HTTP 服务器的 C 语言模块,是 OpenResty 的核心组件。它通过将 Lua 协程与 Nginx 事件模型深度融合,实现了 100% 非阻塞 的网络 I/O 操作,使得在 Nginx 中编写高性能 Web 应用成为可能。本文基于模块源码(v0.10.29),从设计哲学、核心架构、关键机制等多个维度进行深入剖析。

Agno AI Agent框架架构与设计思路

Agno AI Agent 框架架构与设计思路

概述

Agno 是一个功能完备的 AI Agent 框架(由 phidata 演进而来),用于构建具有记忆、知识、工具调用、推理、团队协作和工作流编排能力的智能体系统。它内置 50+ 模型提供商、130+ 工具、17+ 向量数据库,覆盖了从单 Agent 到多 Agent 团队再到复杂工作流编排的完整链路。本文基于 Agno 源码,深入剖析其架构设计与核心实现。